PostgreSQL を macOS に設置し、プロジェクト用の DB まで作成します。
Postgres.app を設置する
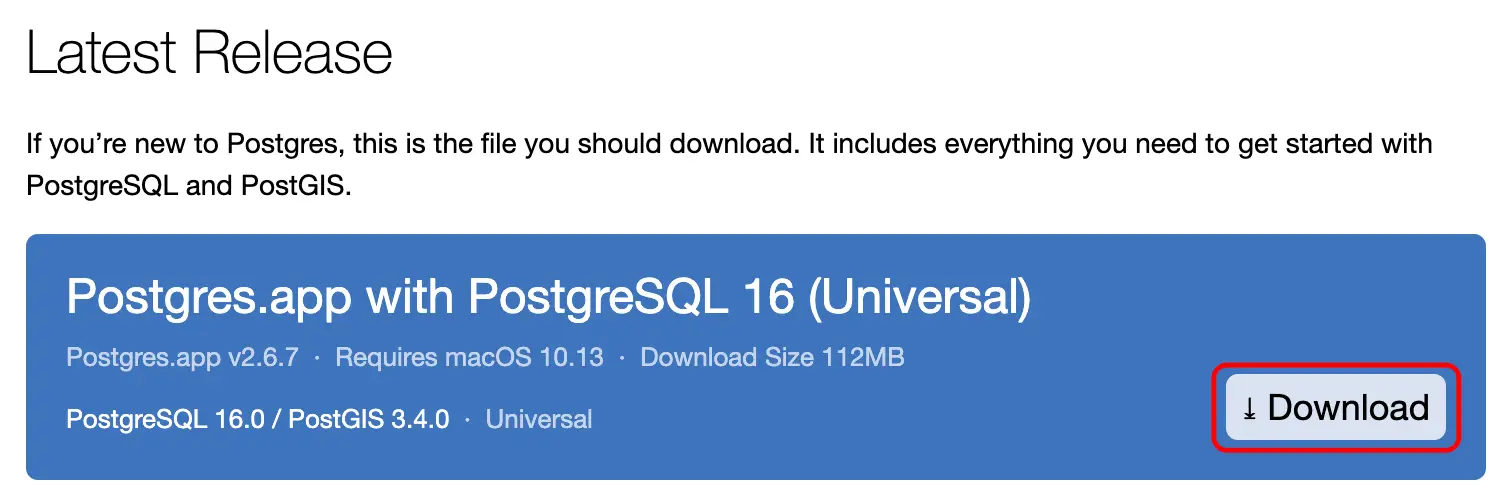
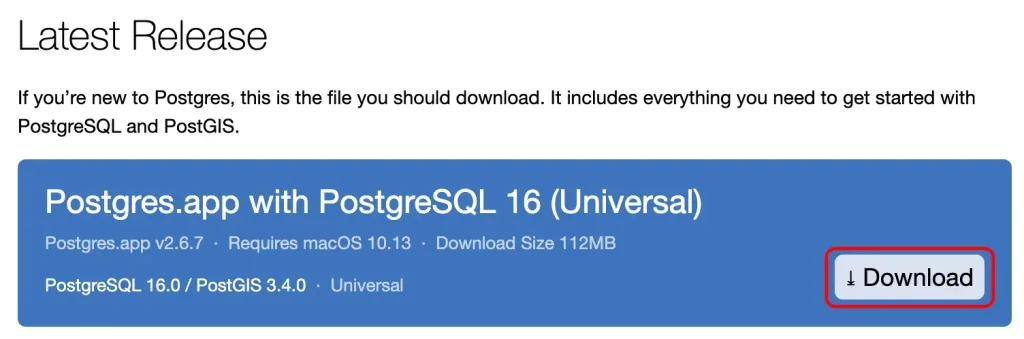
このリンクからアプリを設置できます。
Postgres.app は、標準の Mac アプリとしてパッケージ化された、フル機能の PostgreSQL インストールです。 これには、開始するために必要なものがすべて含まれています。
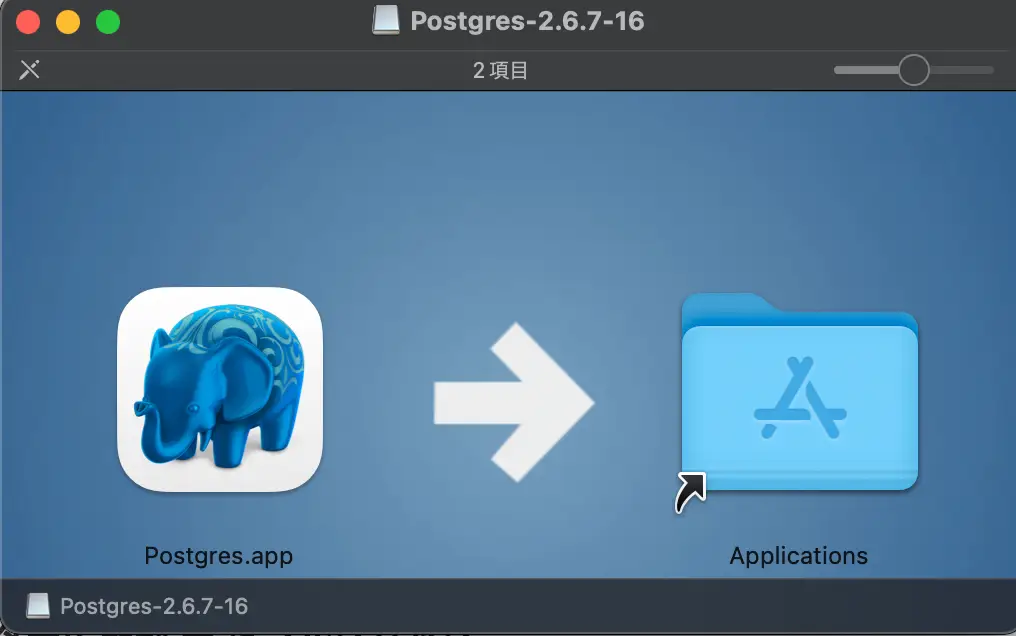
ダウンロード ➜ アプリケーションフォルダーに移動 ➜ ダブルクリック します。
※ Postgres.app をアプリケーション フォルダーに移動しないと、一部の機能が動作しない可能性があります
付属のコマンド ライン ツール (オプション) を使用するように $PATH を構成します。
try🐶everything backend$ sudo mkdir -p /etc/paths.d &&
echo /Applications/Postgres.app/Contents/Versions/latest/bin | sudo tee /etc/paths.d/postgresapp
Password:
/Applications/Postgres.app/Contents/Versions/latest/bin

try🐶everything backend$
try🐶everything backend$ ll /etc/paths.d
total 24
drwxr-xr-x   5 root  wheel   160  9 28 18:59 .
drwxr-xr-x  79 root  wheel  2528  9 28 19:26 ..
-rw-r--r--   1 root  wheel   224  9 16 22:28 10-cryptex
-rw-r--r--   1 root  wheel    23  9 29 15:09 100-rvictl
-rw-r--r--   1 root  wheel    56  1 20  2022 postgresapp
try🐶everything backend$
PostgreSQL Server を初期化する
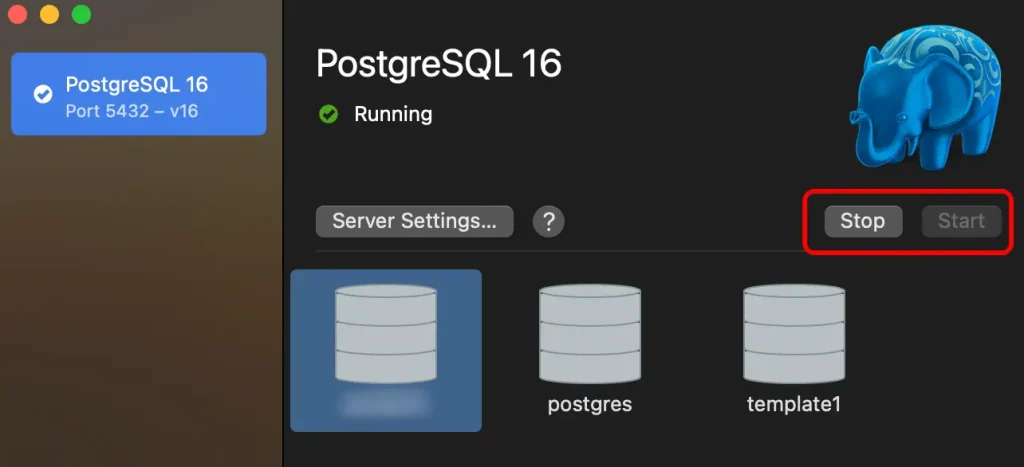
「初期化」をクリックして新しいサーバーを作成します
デフォルトでは、Postgres.app はサポートされている最新バージョンの PostgreSQL を使用してサーバー (クラスター) を構成します。 「初期化」ボタンをクリックするだけです。
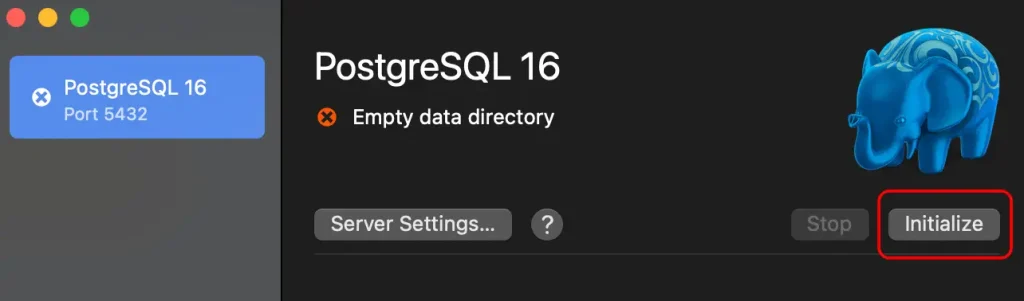
PostgreSQL サーバー (クラスター) には複数のデータベースを含めることができます。 デフォルトでは、Postgres.app はユーザー名と同じ名前のデータベースを作成します。
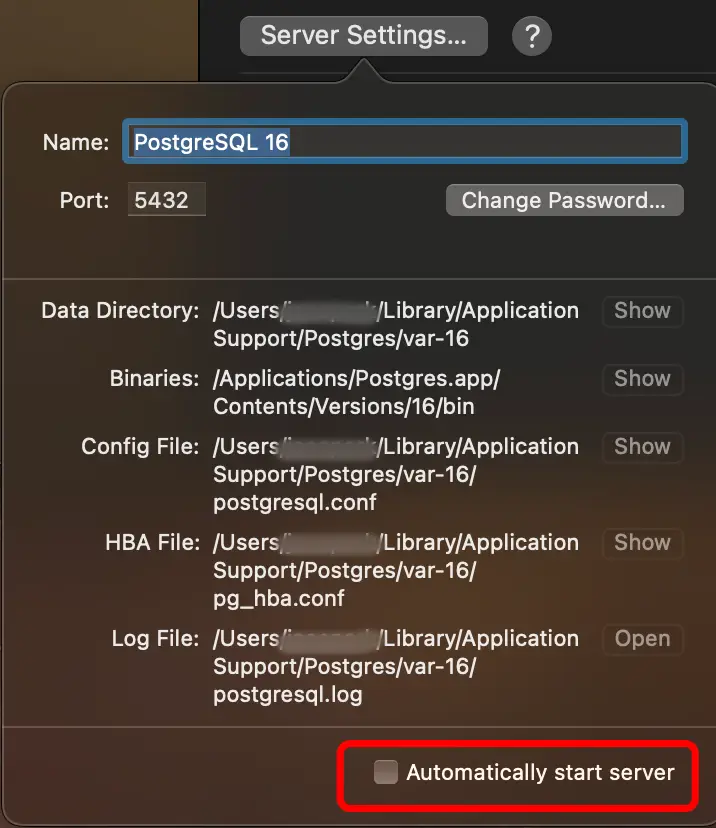
OS が起動するとデフォルトで自動起動するので Automatically start server のチェックを外し、必要な時だけ起動・停止させます。(選択)
Graphical Client (pgAdmin 4) を使います
pgAdmin 4 は、機能が豊富なオープンソース PostgreSQL クライアントです。 PostgreSQL のほぼすべての機能がサポートされています。
ダウンロード リンク から macOS 用 pgAdmin 4 を選び DL します。
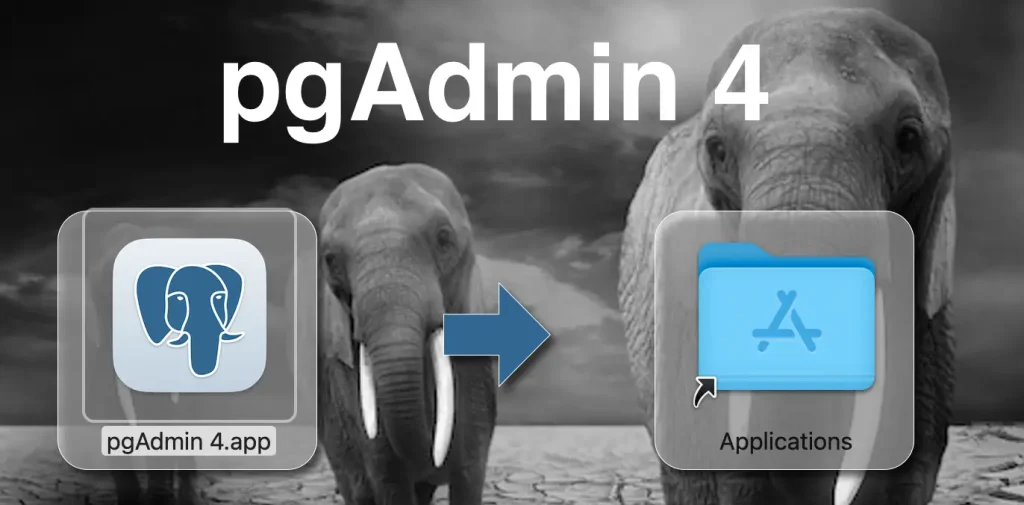
pgadmin4-x.x-arm64.dmg ダブルクリック > pgAdmin4.app を Applications フォルダへ移動 します。
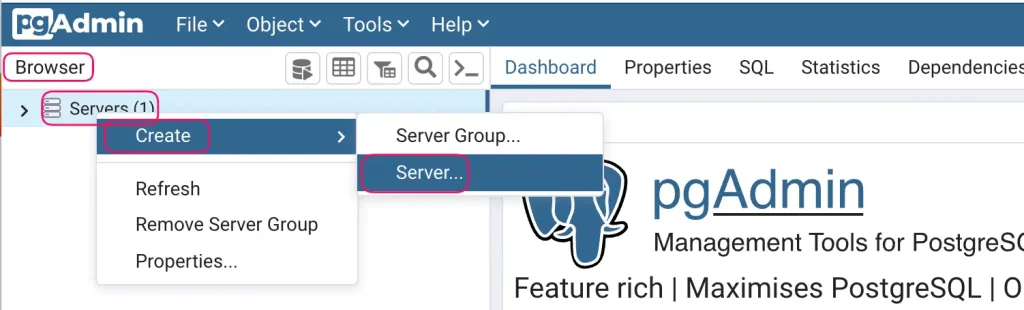
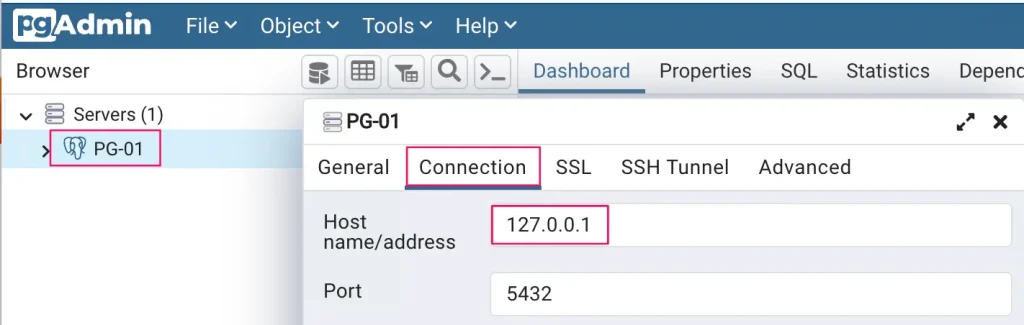
新しい Serverを作成します
pgAdmin4 > Browser.Servers.Create.Server... > Set General Tab: Set Name: PG-01(任意) > Set Connection Tab: Host name/address: 127.0.0.1 > Save
⬇︎

⬇︎
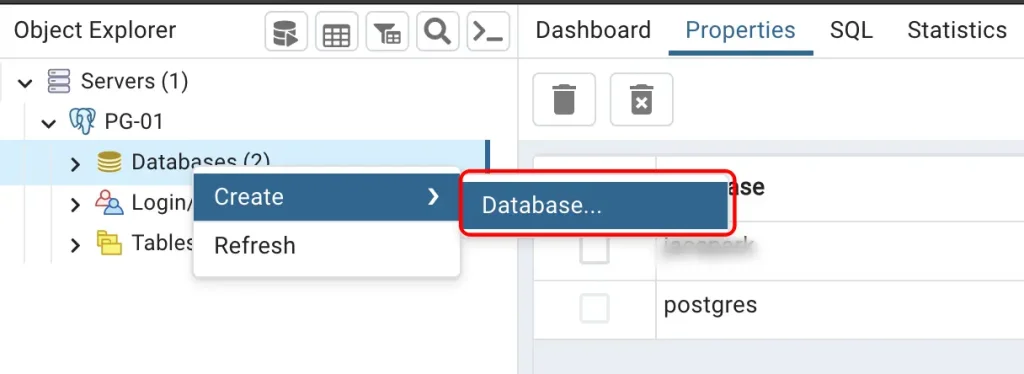
プロジェクト用 DB を追加する
pgAdmin4 を起動します。
pgAdmin4 > Servers > PG-01(任意) > Databases (右クリック) > Create > Database... の手順でデータベースを作成します。
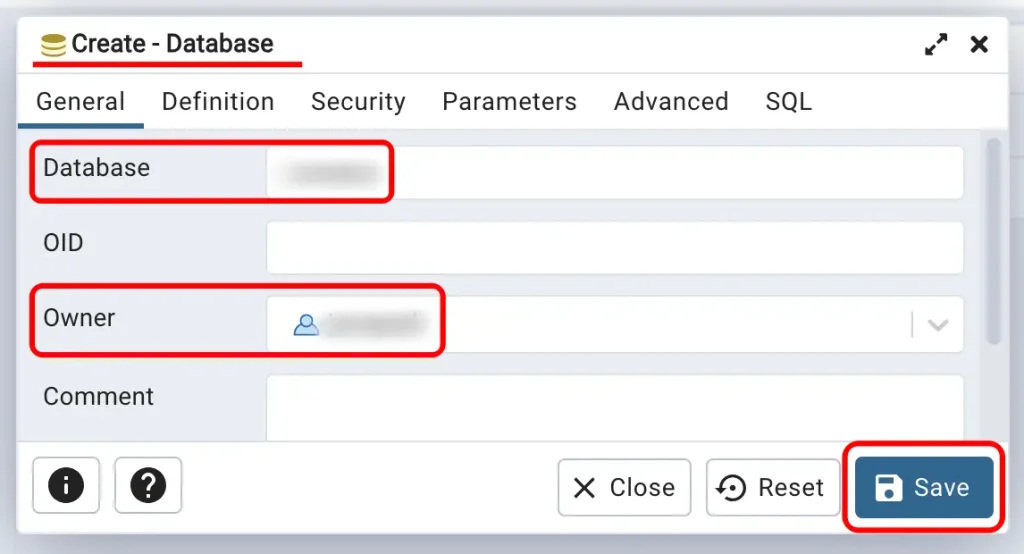
⬇︎必要に応じて Owner も変更します。(デフォルトで macOS ユーザ)
⬇︎
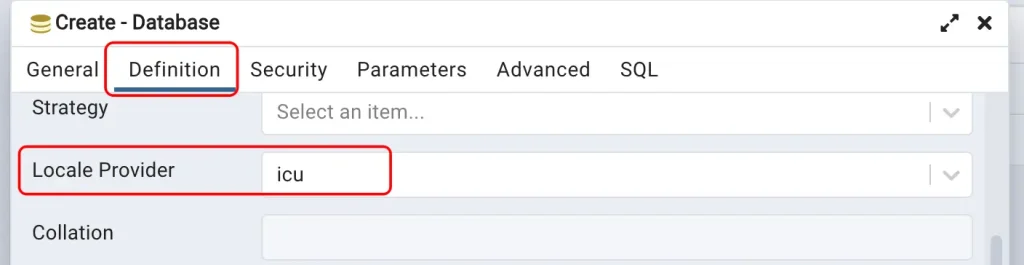
ロケール プロバイダー ( Locale Provider ) フィールドのドロップダウン リスト ボックスからロケール プロバイダーを選択して、このデータベースのデフォルトの照合順序を設定します。 可能な値は、icu、libc です。 このオプションは v15 以降で使用できます。
エラー:
new locale provider (libc) does not match locale provider of the template database(icu) HINT: Use the same locale provider as in the template database, or use template0 as template.
⬆︎ libc は template0 とマッチし、icu は template1 とマッチされます。ところが、デフォルトテンプレートは template1、デフォルト ロケール プロバイダーは libc になっているから発生したエラーだと思います。
解決方法は ① 下記のように libc –> icu に変更するか、② template を template1 に指定するか で解決できます。
Owner のパスワードを設定します。
Login/Group Roles > Owner を選択 > Properties > 🖊️アイコン > Definition > Password > 使用するパスワードを入力 > Save します。
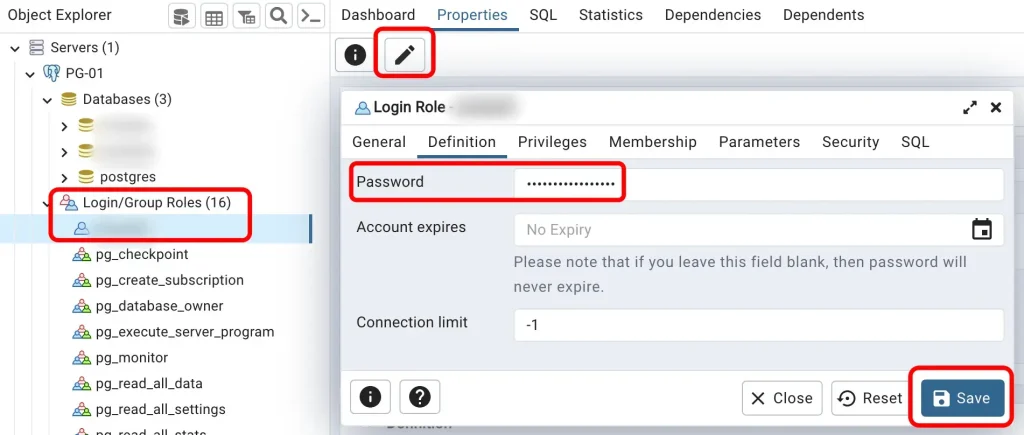
これでプロジェクトに使用する DB が作成されました。
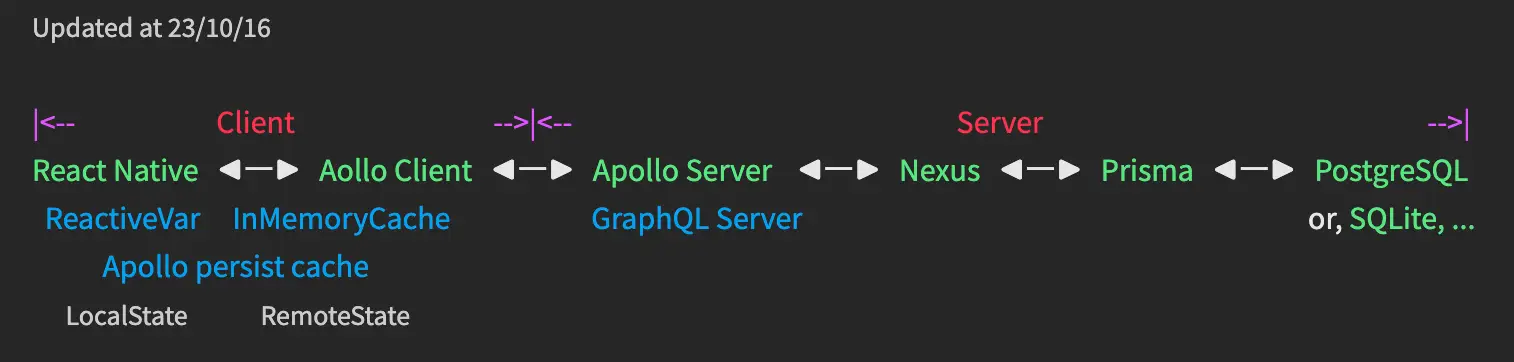
※ GraphQL Backend の構築を完成するなら、⬇︎⬇︎ の記事をご参考ください。

コメント